Bring back the good old days
Introduction
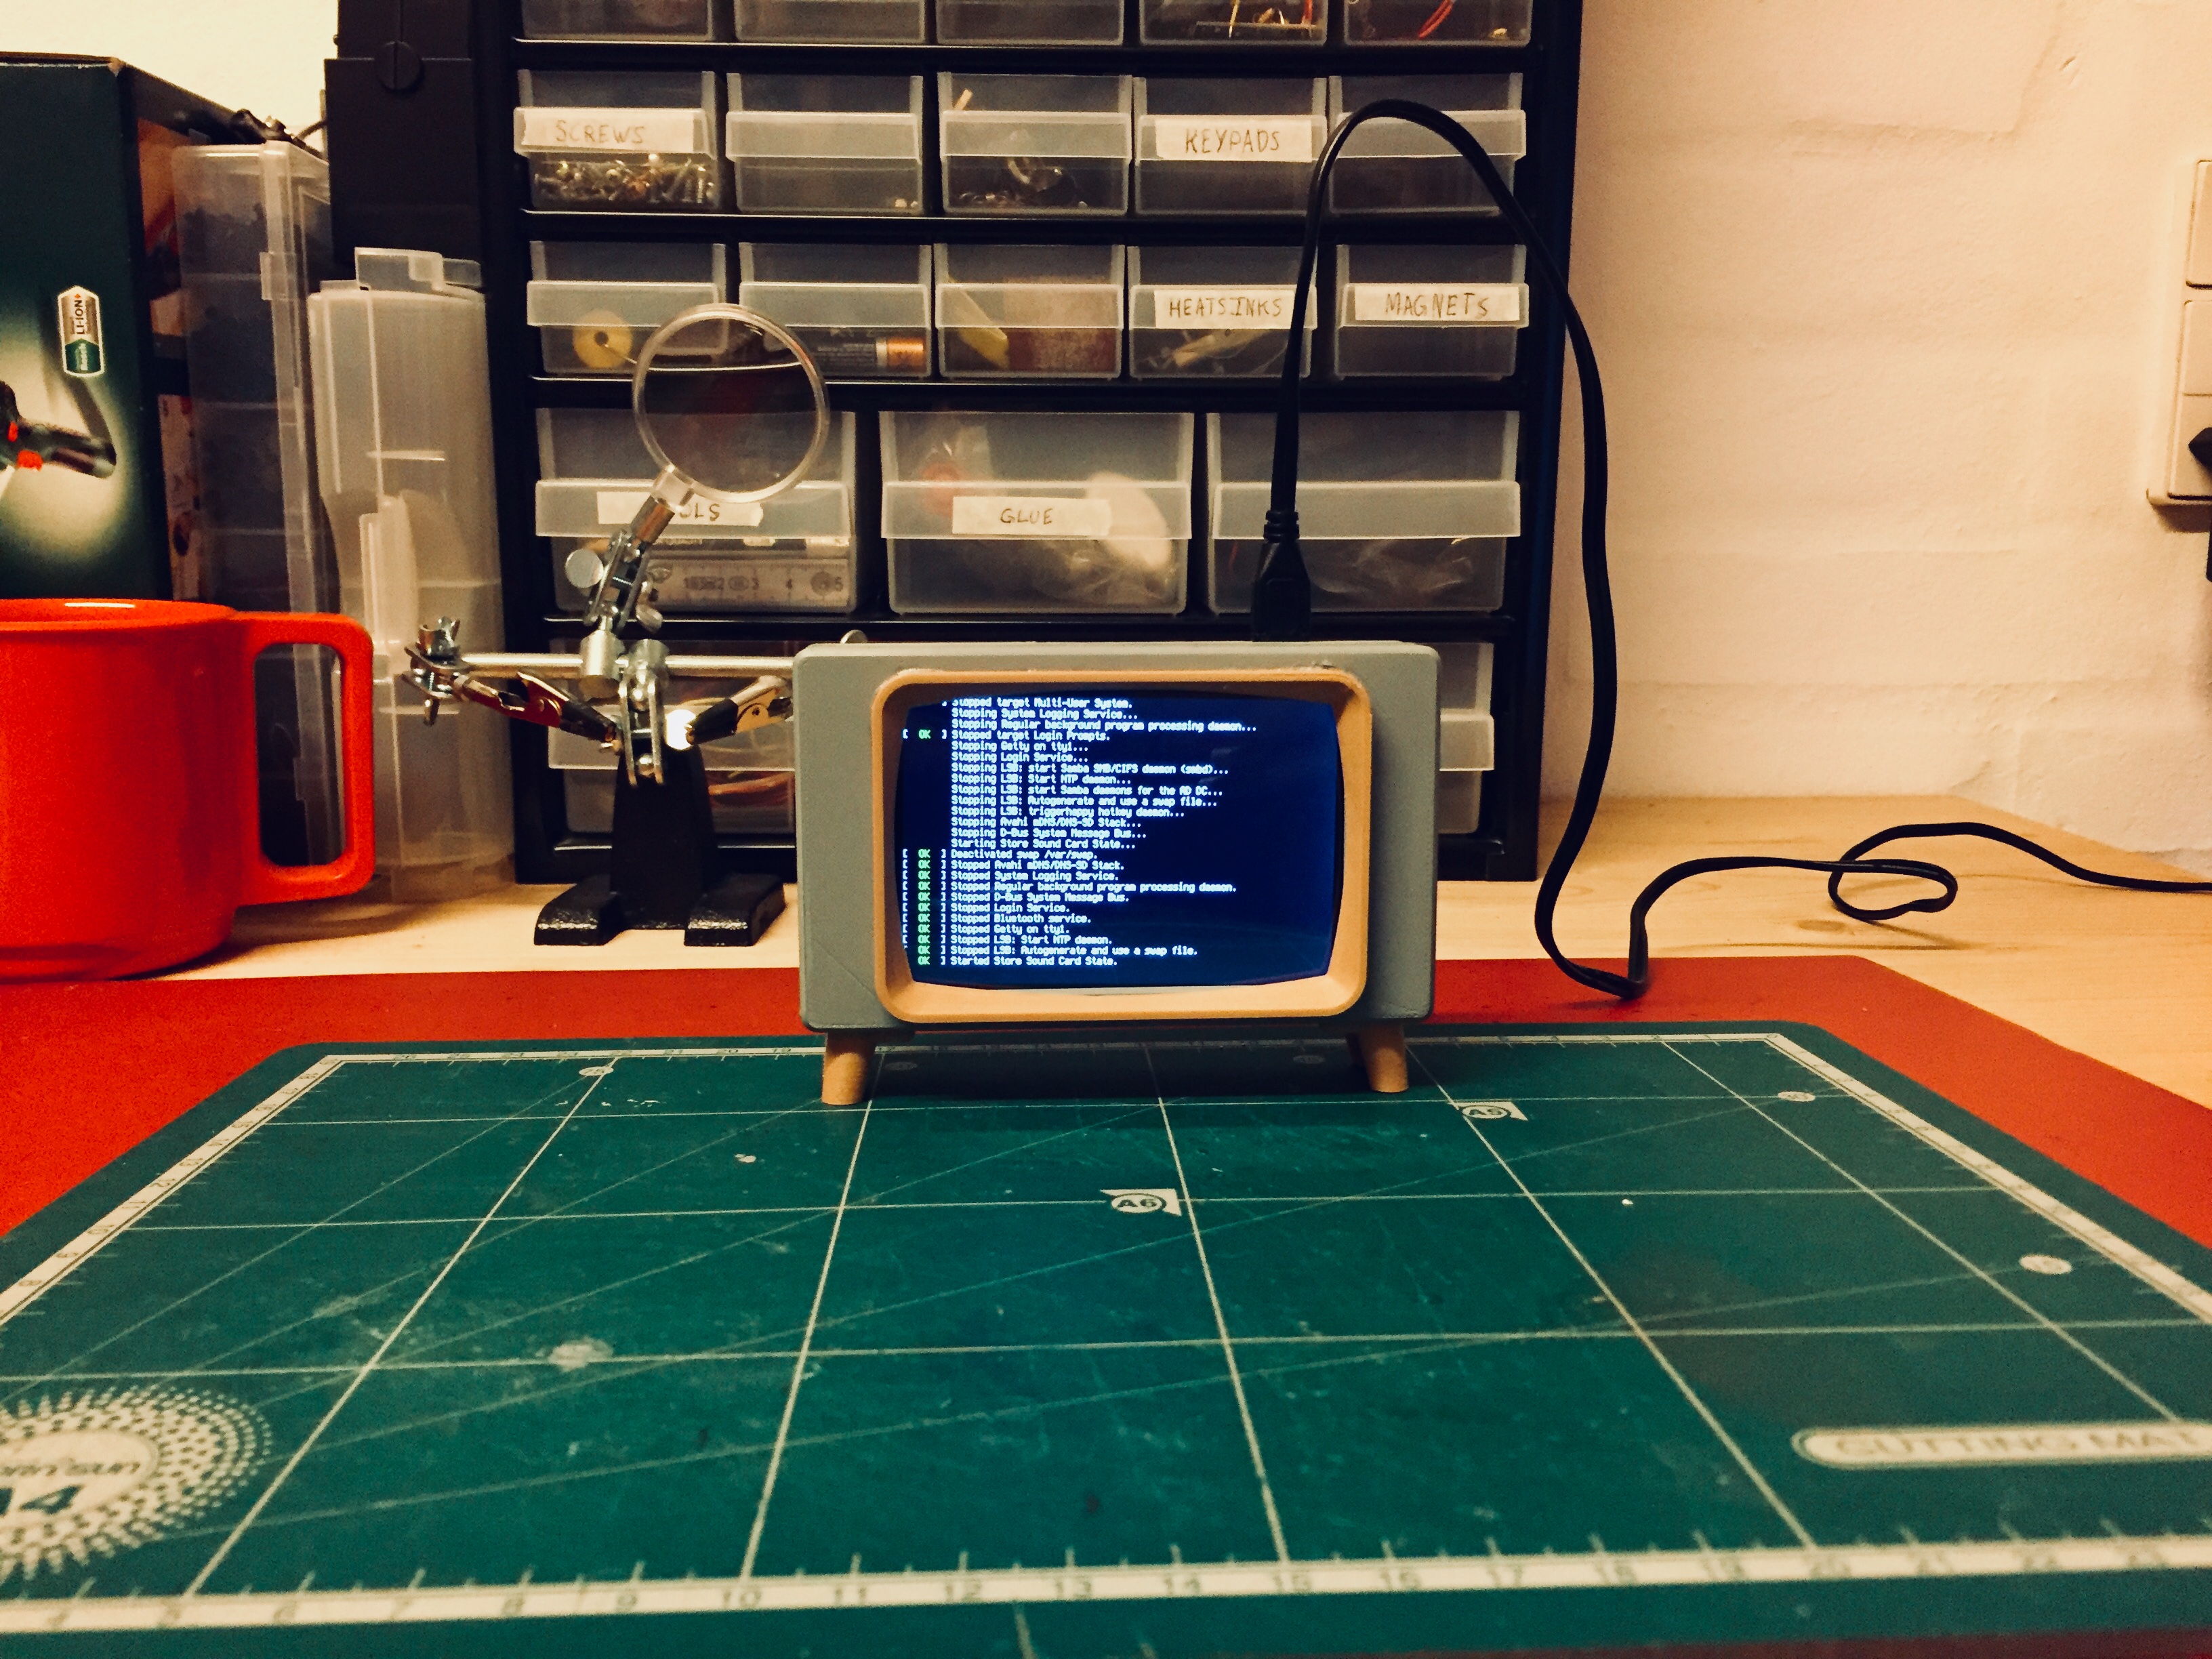
This guide shows you how to make and setup a retro-looking TV, with a Raspberry Pi, a Touchscreen and some 3D printed parts.
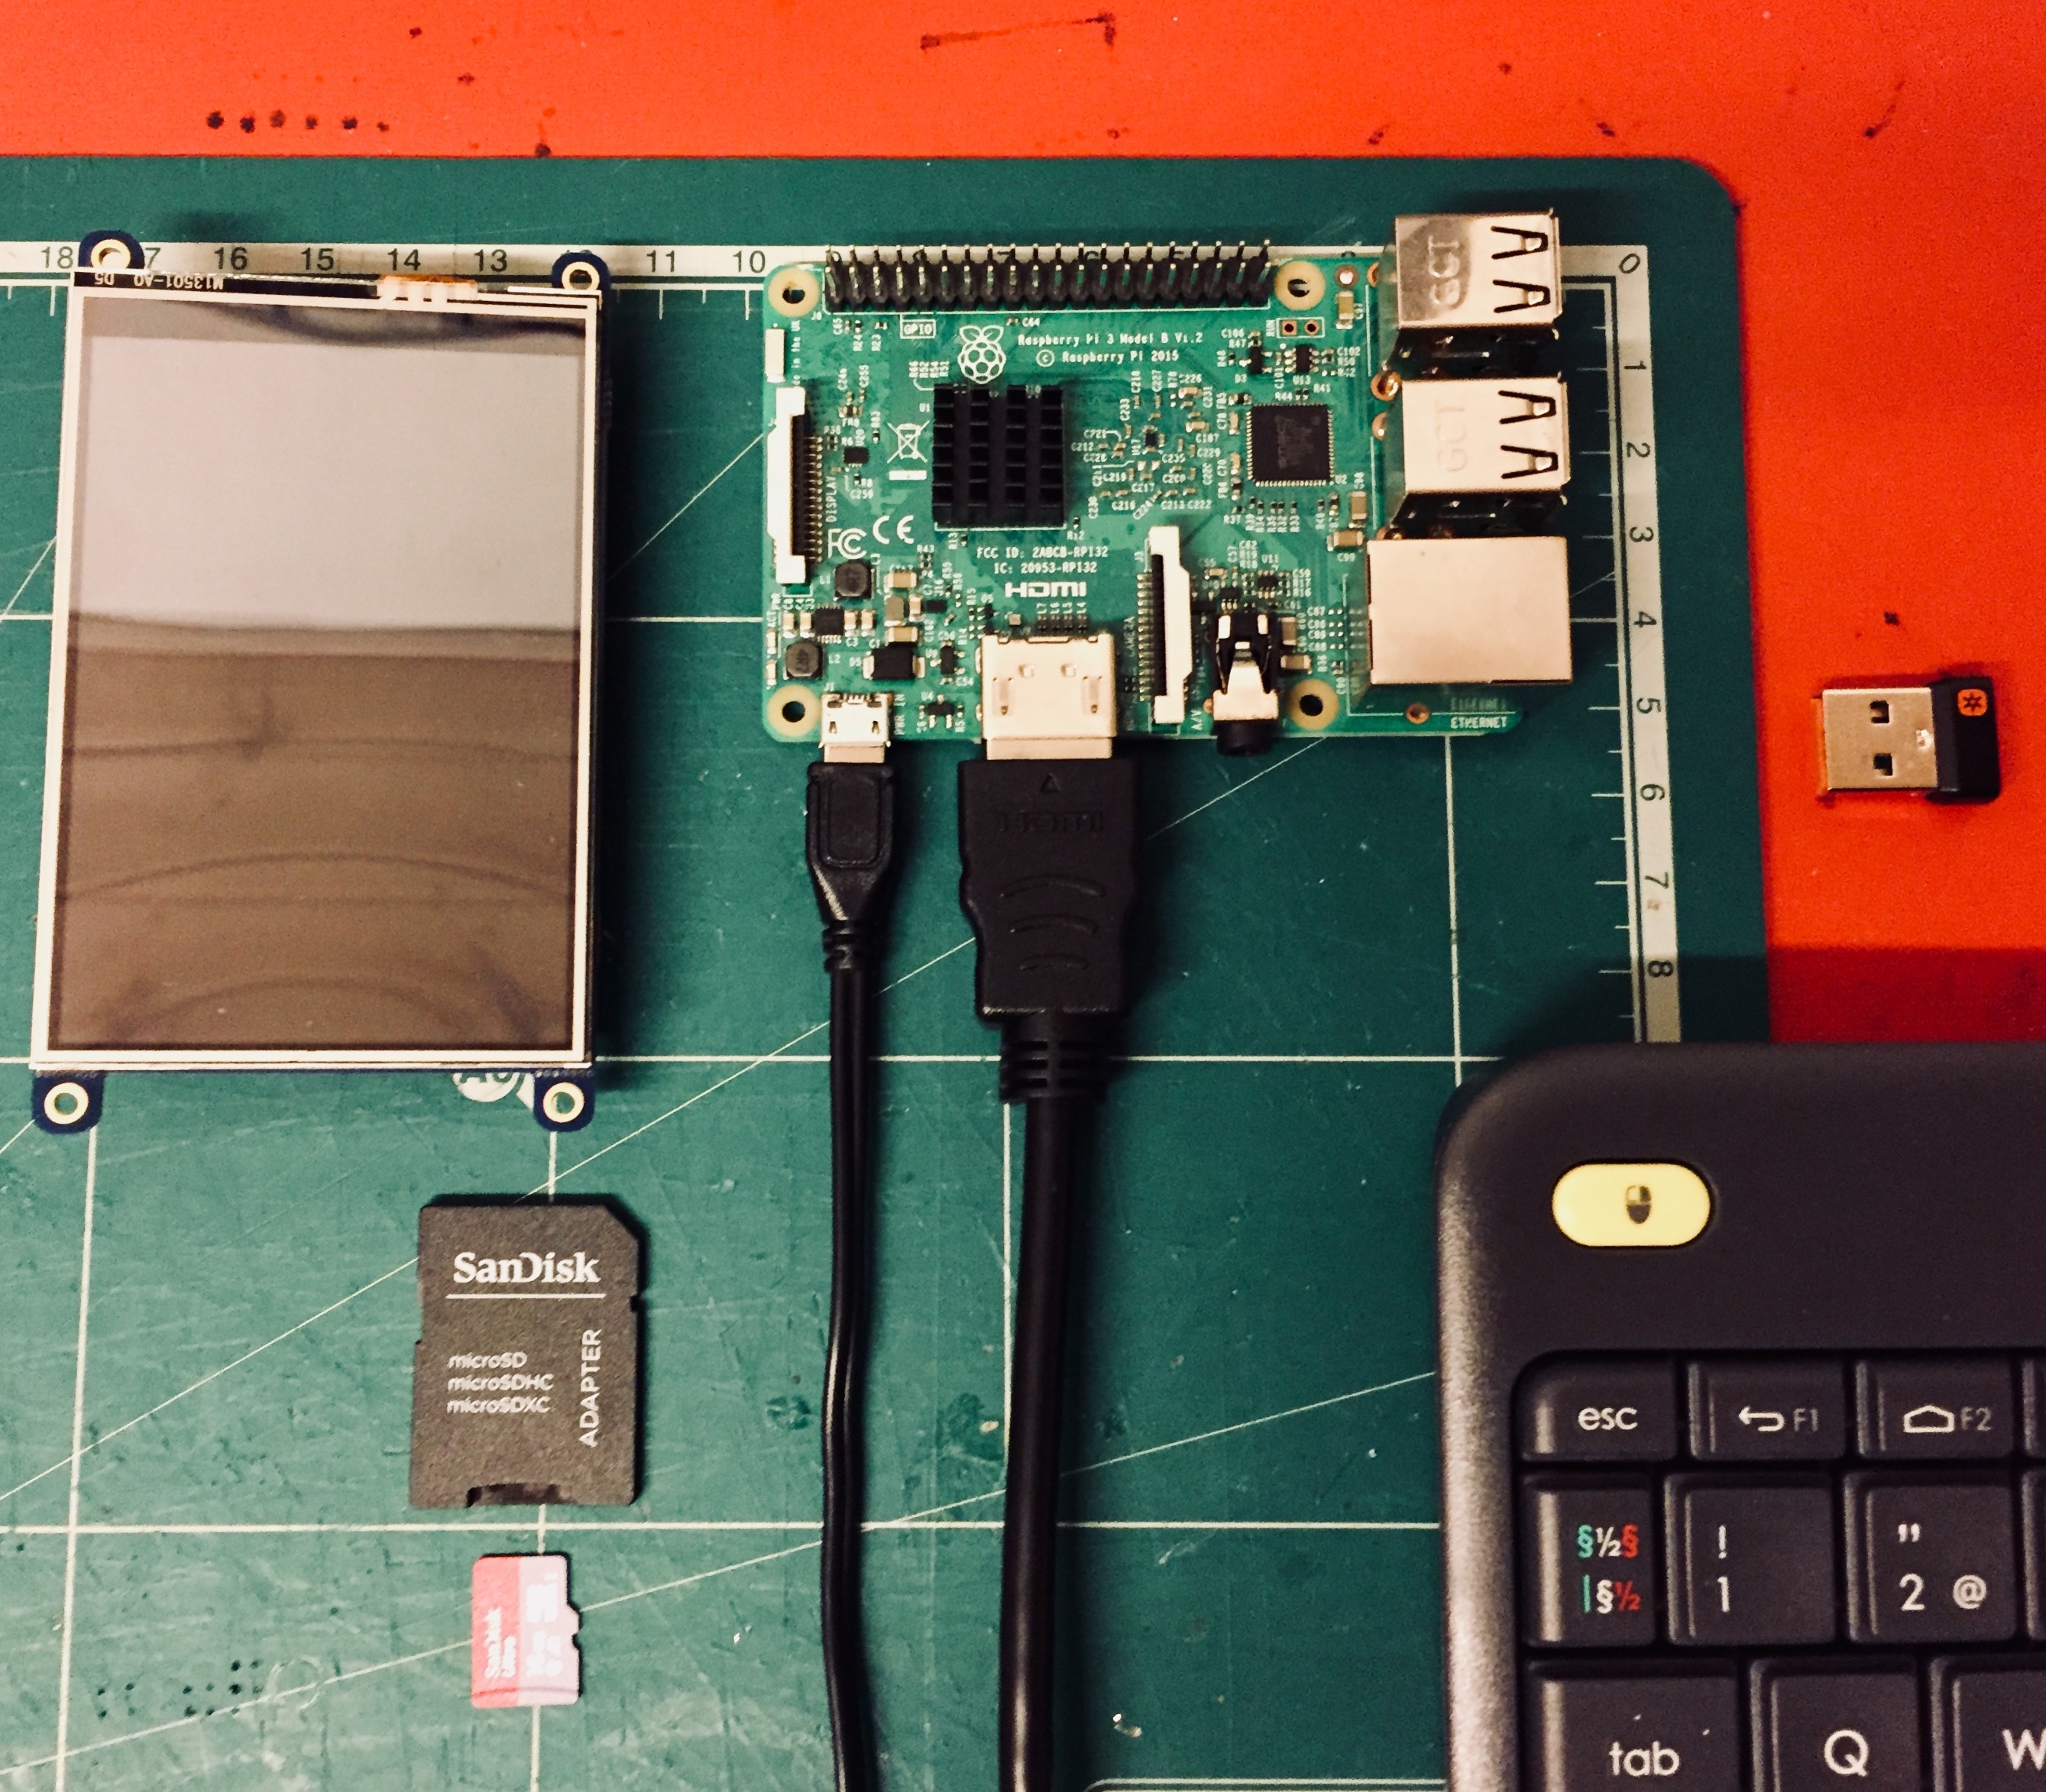
You will need:
- A Raspberry Pi 3 (or Pi 2, B+ and A+ with WiFi dongle or ethernet cable plucked in)
- A Adafruit PiTFT 3.5" Touchscreen for Raspberry Pi
- A 5V 2.4A Power Supply for Raspberry Pi
- A 4GB or higher Micro SD Card
- An Emty USB Stick
- A Keyboard and a mouse
- A connection to a monitor or TV
- A 3D printer and a spool of any color PLA (or you could use a 3D service like 3D Hubs to print it for you)
- A Grey spray paint (optional: you could just stick with the color of the filament)
- A glue of some sort (I used wood glue)
- A spool of wood filament (optional)
Enclosure
I made a 3D printed enclosure, to house all the electronics. But you could also make it out of cardboard, wood, etc.
3D printing
The base of the 3D printed enclosure, were design by the Ruiz Brothers on Adafruit, but I designed the bezel and the legs, to give it a retro-looking theme.
1. Start by downloading the files from the link below, or directly from my Thingiverse page, and print them out. I printed the front and back panel in some ordinary PLA, and the bezel and the legs in a wood-like PLA. But you can use whatever you like, or have on hand.
2. The back of the base has a hinge, that you need to cut free, so it can swing in and out.
3. Spray the outside of the base with some ordinary grey spray paint. I recommend giving it multiple coats.
Remember to paint outside, or in a well ventilated room.
4. Then glue the bezel to the front of the base. I ended up using wood glue for this, because my other glues didn't work. But you can use whatever works for you.
Remember to lay something heavy on top, so the glue can settle.
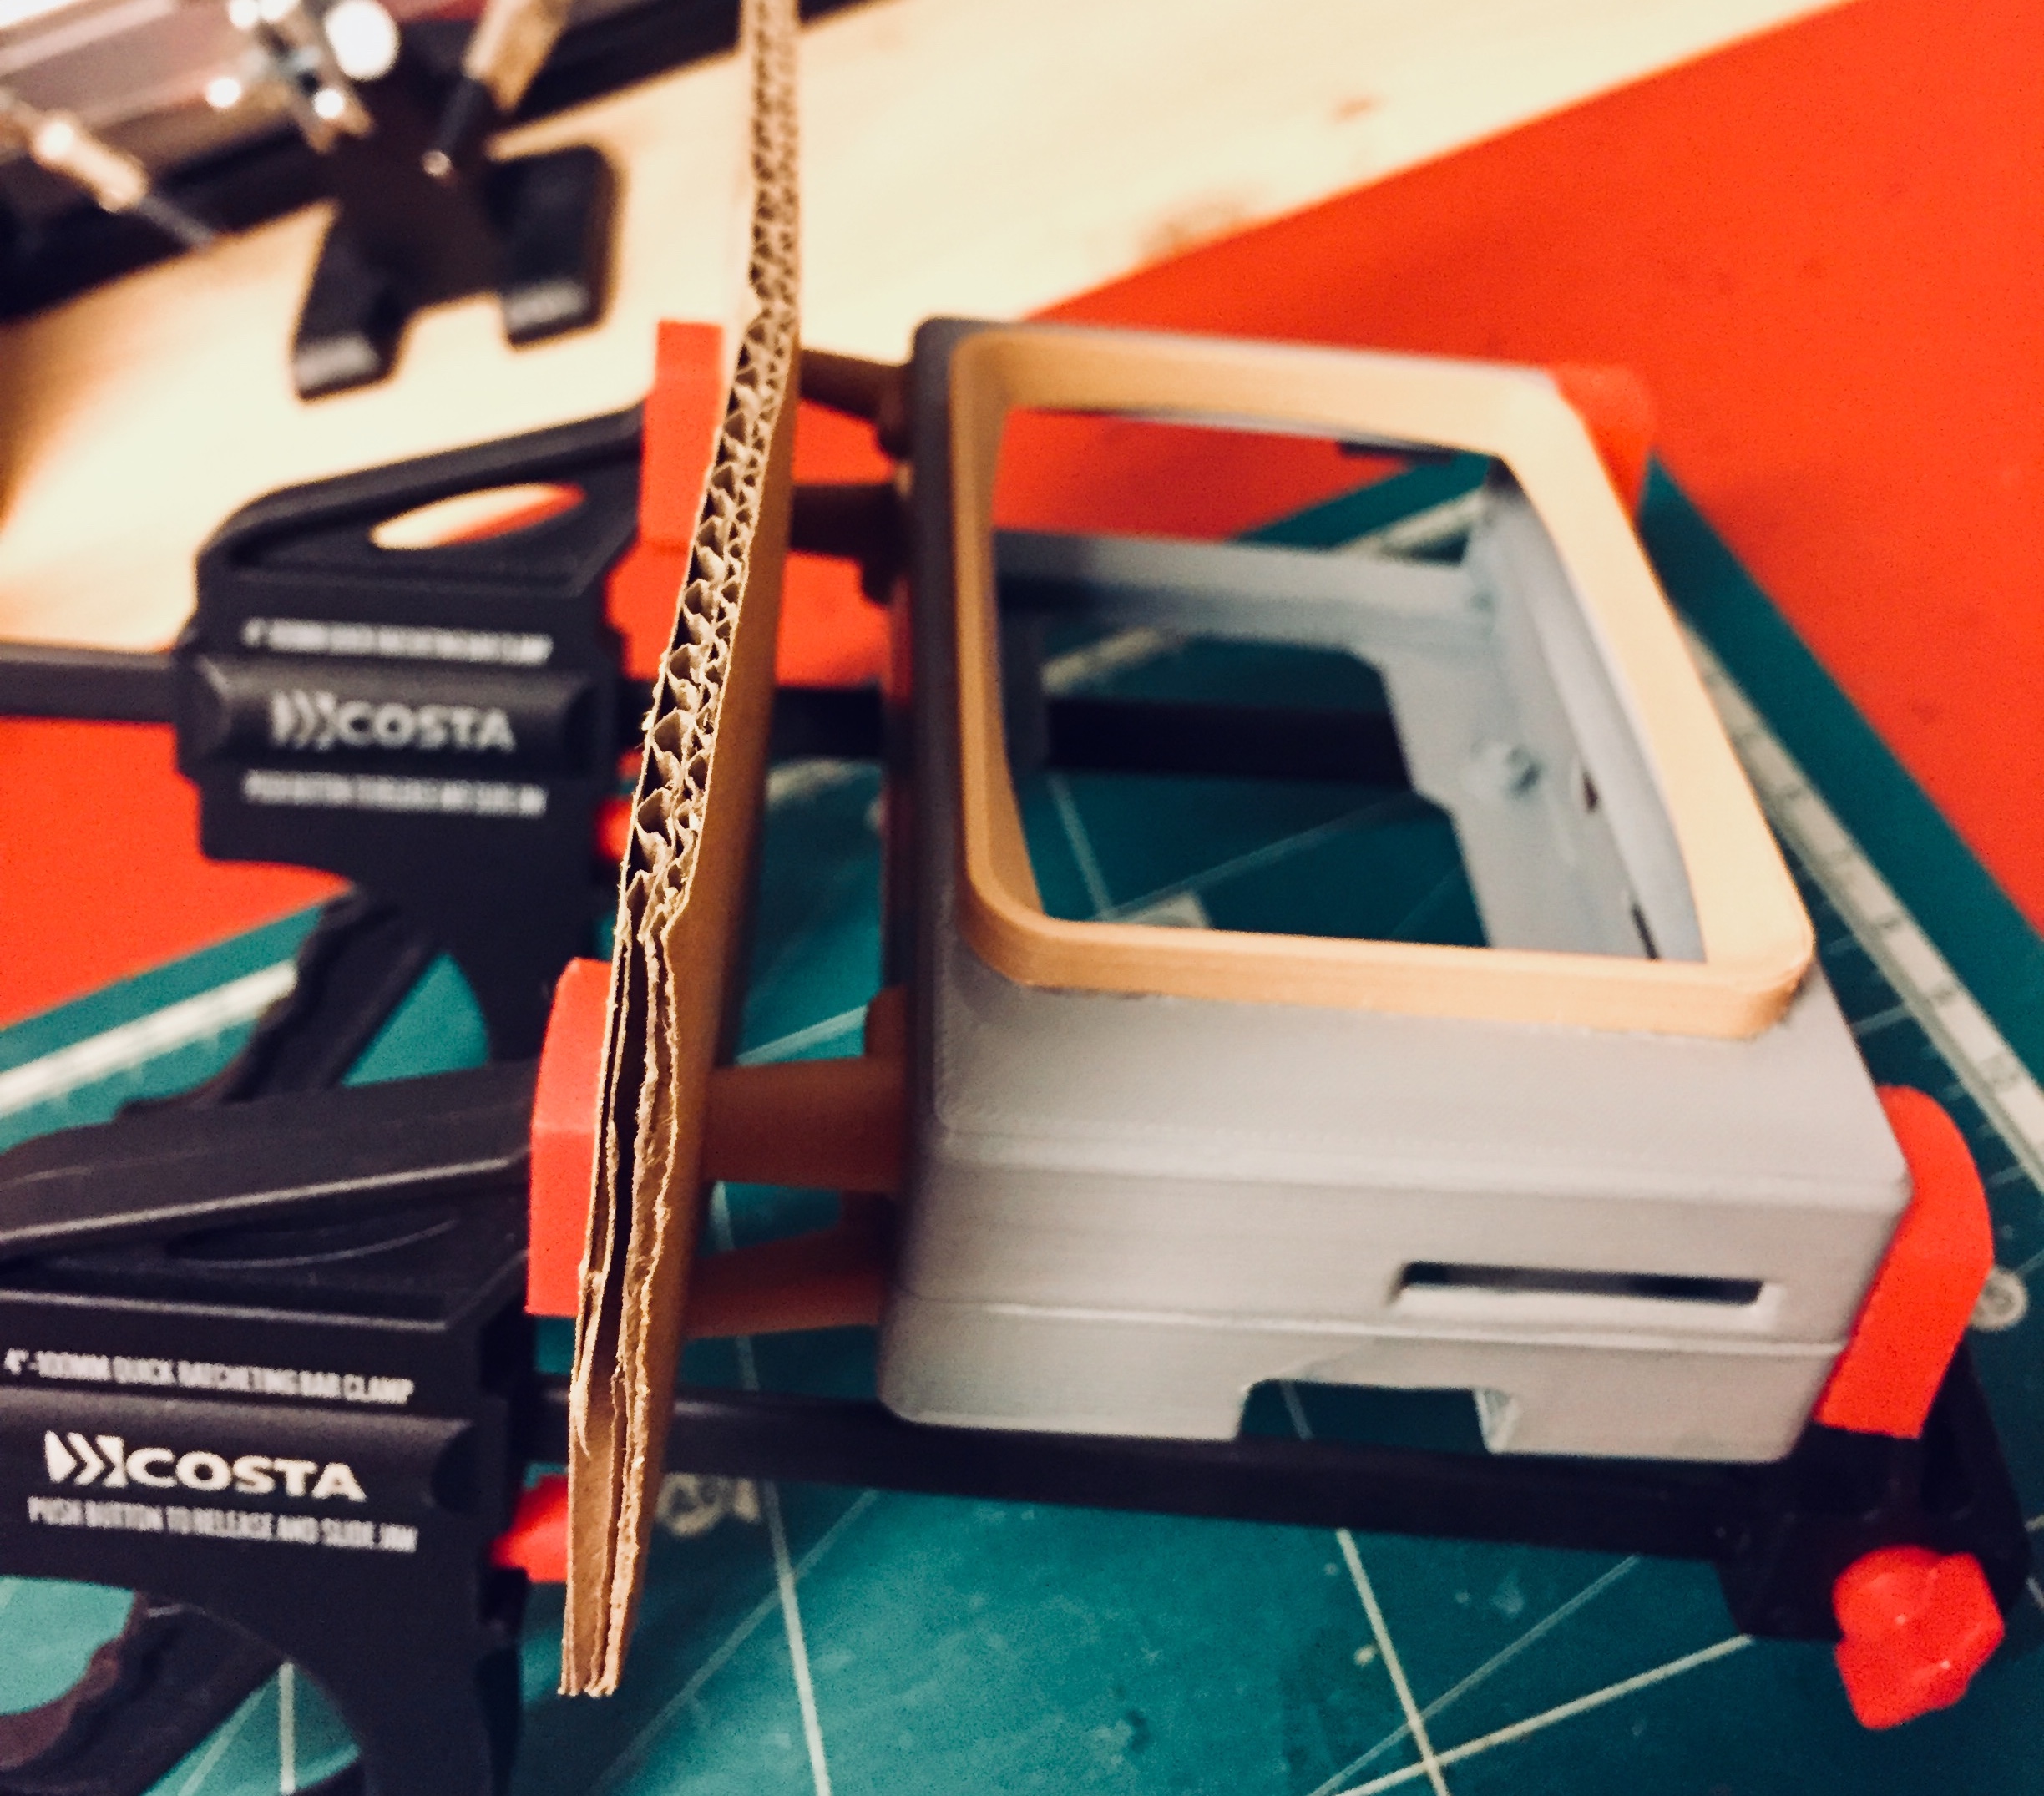
5. At last glue the 4 legs to the bottom.
Notice the orientation and keep pressure on it, while the glue is settling.
6. Put it all together!
- Start by setting the Touchscreen on top of the Raspberry Pi's GPIO header.
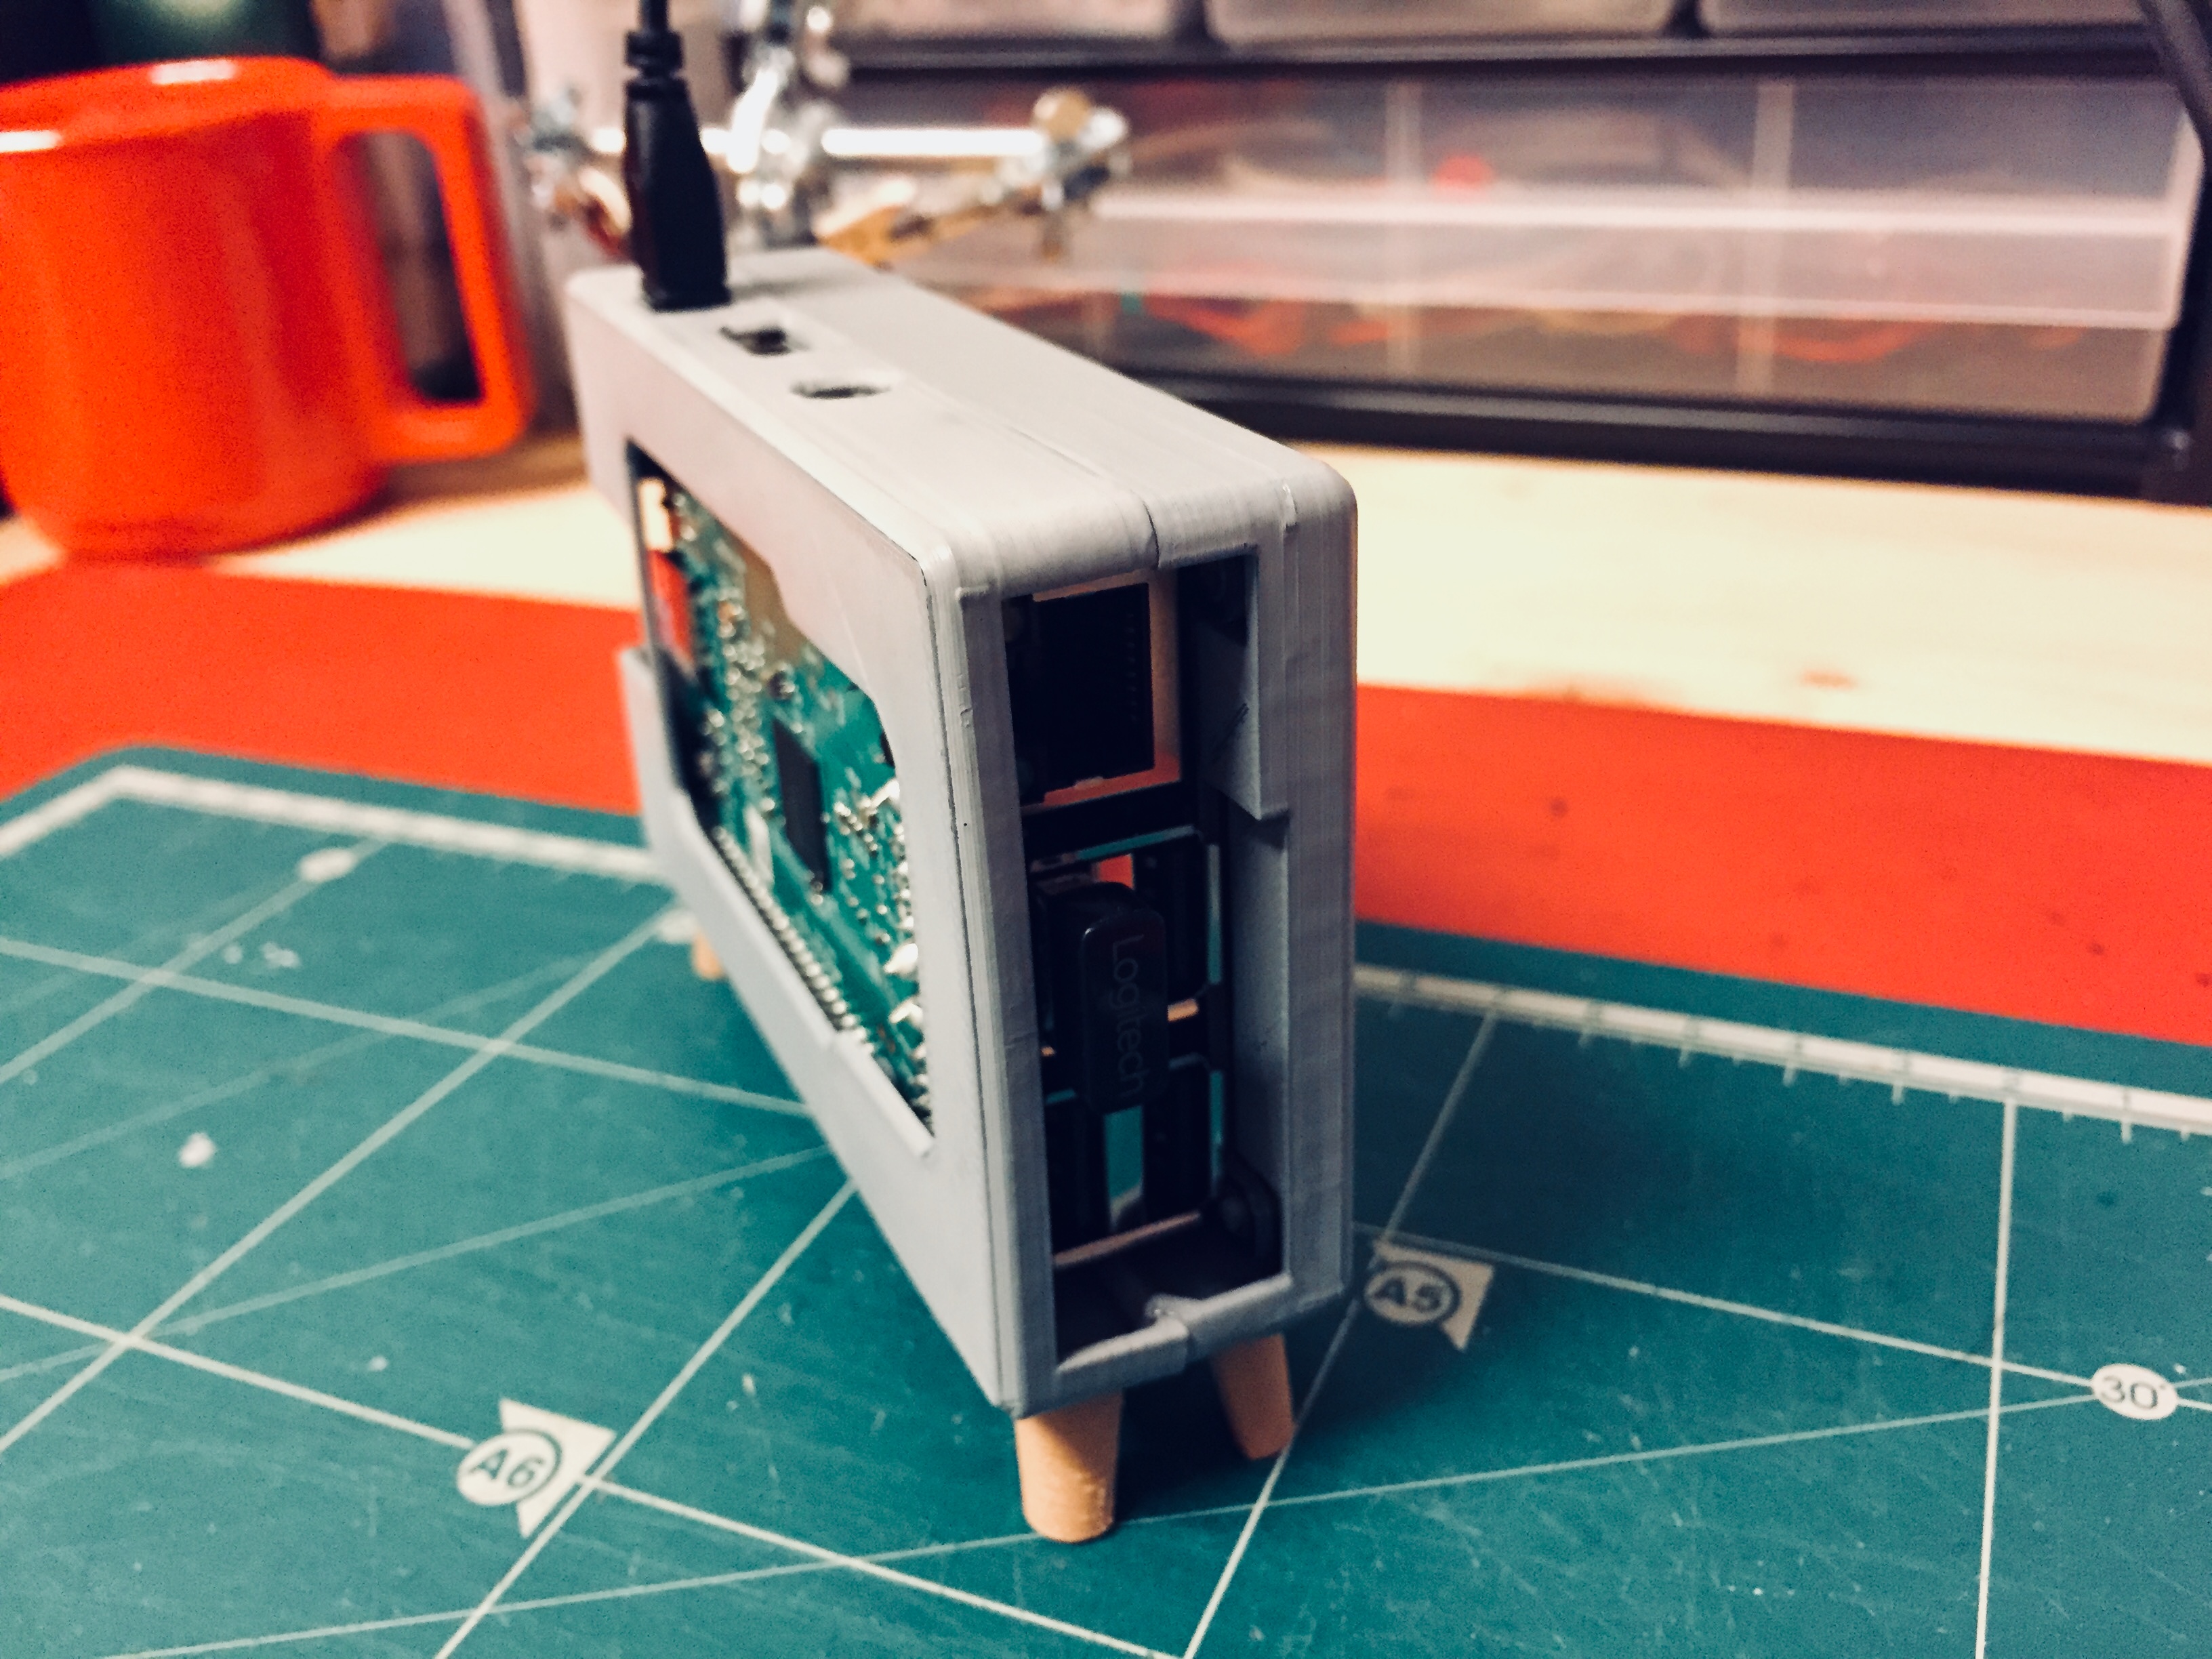
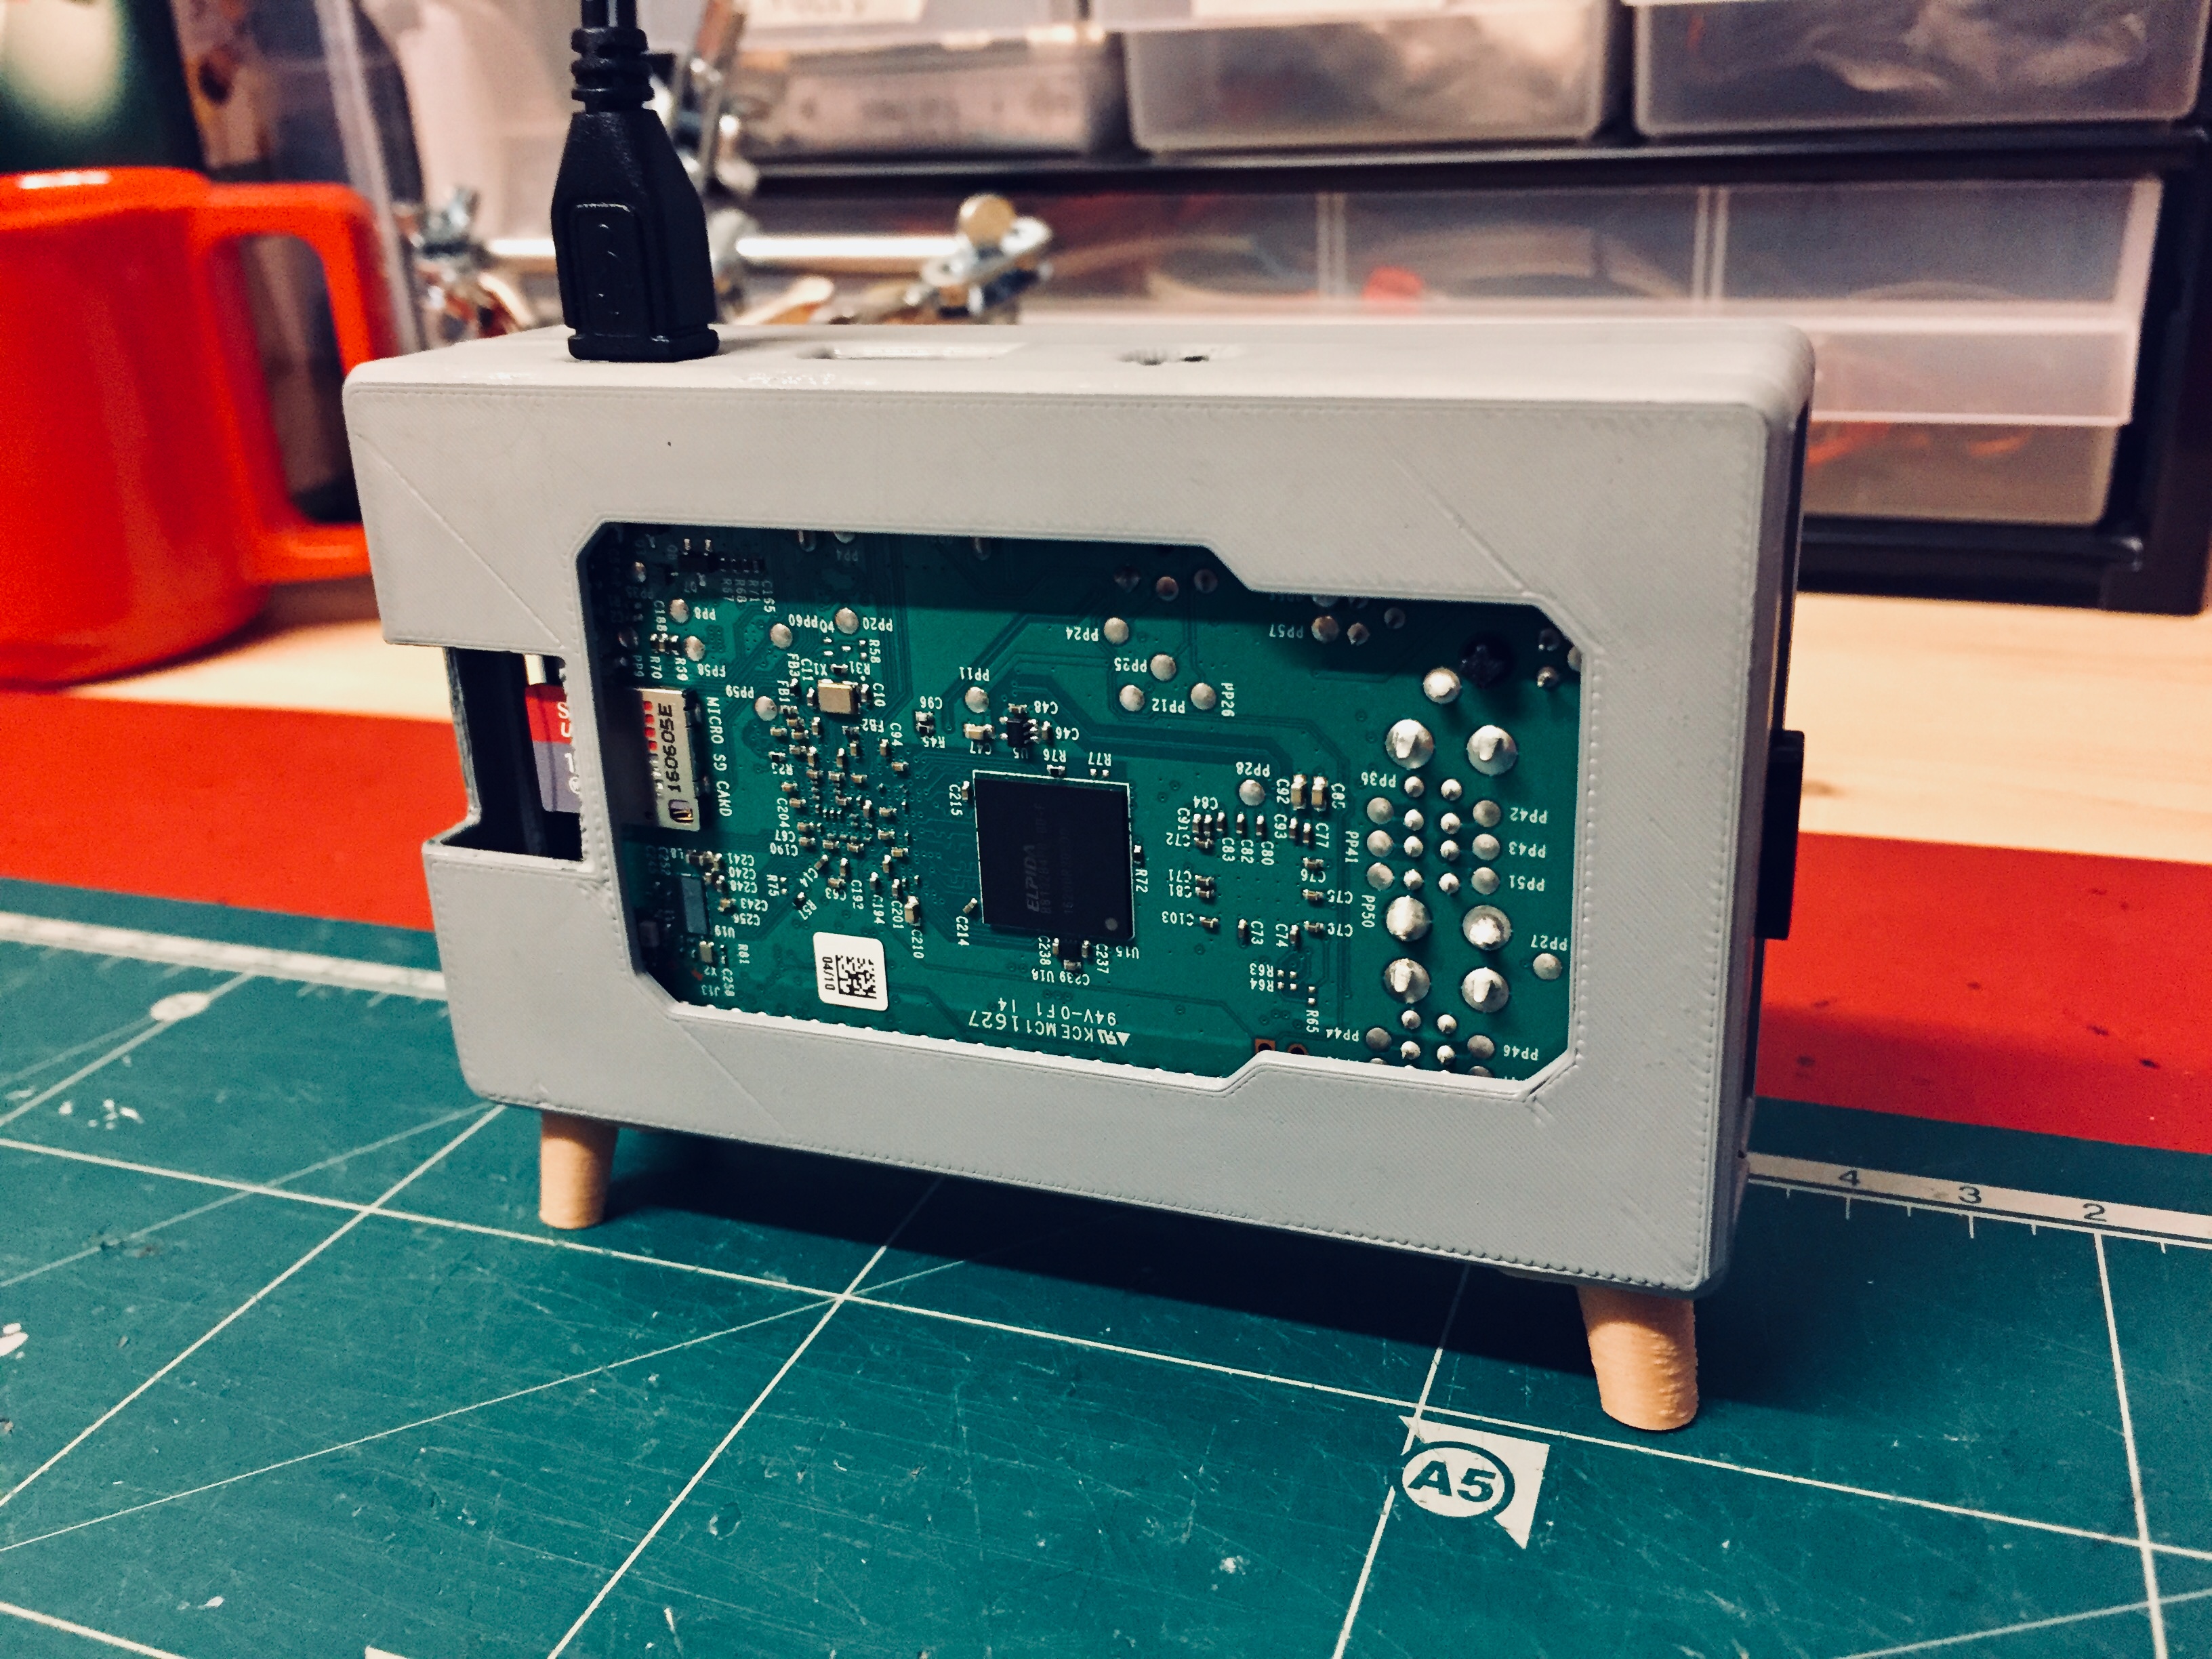
- Then set the Raspberry Pi with the Touchscreen face down, into the front panel, so the screen and USB-ports line up with the 3D printed case.
- At last line up the Raspberry Pi's ports on the side, with the back panel, and snap the two halves together. Dont be afraid of it cracking, just work your way from corner to corner.
Burning the operating system to the Micro SD Card
This is only for mac-users! But if you have PC you can easily find a tutorial online, and return to RetroPie
1. Start by downloading your desired operating system from the internet, in my case from https://retropie.org.uk/download/. Be sure to download the latest for Raspberry Pi 2 and 3. Now unzip it.
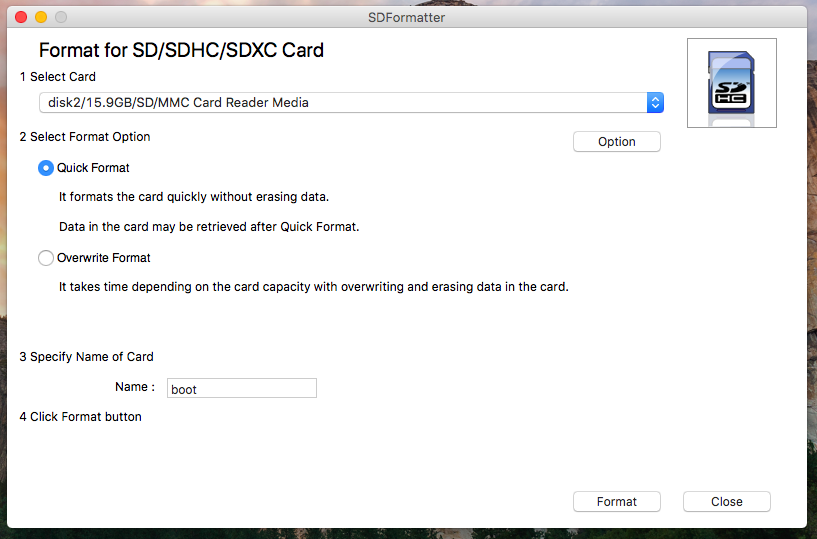
2. Then use SDFormatter to clean the SD Card, and delete everything on it. Do this by selcting your SD Card and setting it to Quick Format, and then clicking Format.
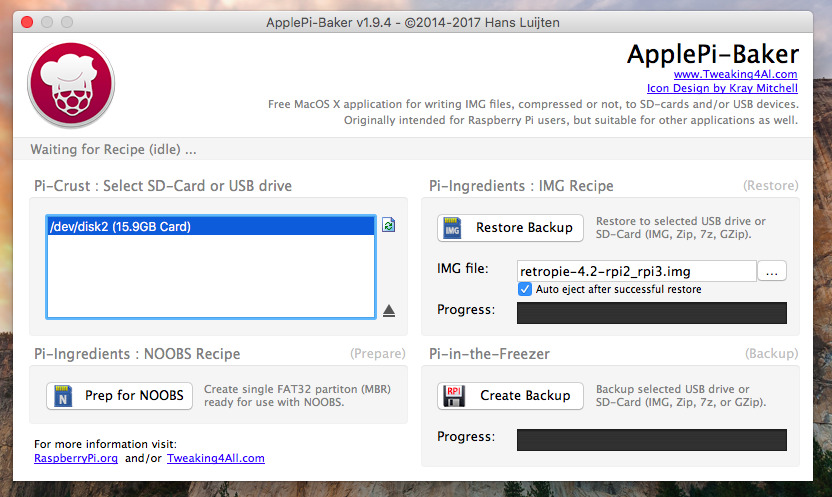
3. Now burn the operating system to the SD Card, with ApplePi-Baker. Again select your SD Card, then select the unzipped operating system, and at last press Restore Backup. This can take som time...
4. Once it's done, you can put the SD Card into the Pi.
RetroPie
We will now configure the keyboard and install our ROMs.
1. If you haven't already plugged in all the cables, go ahead and do that now.
Remember to connect power at last!
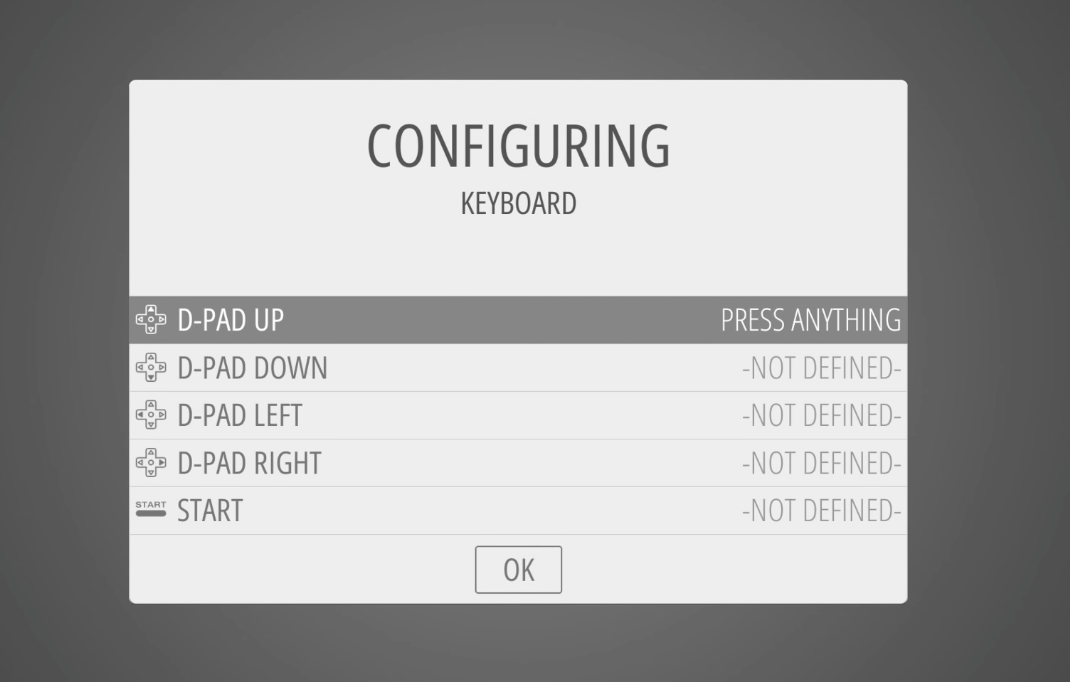
2. When it have booted up you can configure your keyboard. Start by holding down a key, and then you have to configure the following: "D-PAD UP", "D-PAD DOWN", "D-PAD LEFT", "D-PAD RIGHT", "START", "SELECT", "A" and "B", the rest you can skip by holding down a random key.
Transferring ROMs to the Pi
You can watch this video as a reference, so check it out if you don't understand it.
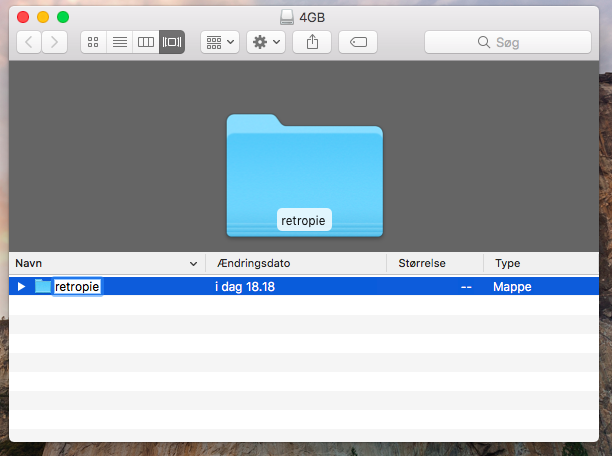
1. Insert an empty USB-stick to your computer.
2. On your USB-stick make a new folder called retropie and eject the USB-stick.
3. While the Pi is turned on, insert the USB-stick. Wait about 1 min. and take it out again.
4. Now put the SD-card back into your computer, and you should see that there is created some folders in the retropie-folder.
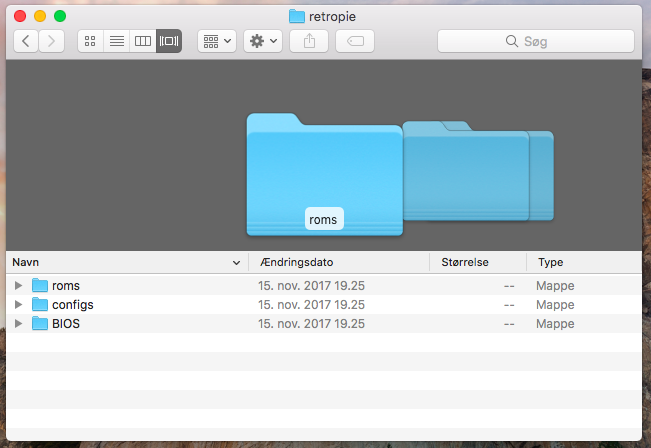
5. In the roms-folder you can insert your ROMs, in there associated emulator folder.
6. Plug it back into your Pi, and reboot the system. Do this by by navigating with "A":
Start by Pressing "START" arrow_forward Then going down to Quit arrow_forward Then go down to Restart System arrow_forward And then Yes
7. Once it's finish rebooting, your games should appear, and you can remove the USB-stick without losing the games.
Touchscreen
By now it only gets displayed on the TV or monitor you have hooked it up to. So now you need to configure the Touchscreen.
This will not configure the touch, but you can find some premade image for the display on adafrut, were the touch is added. Fx. here you can find a Jessie-based PiTFT image for the 3.5" display, that you burn to your SD card, just like I showed. And it works right away.
I'm basically just following this guide on Adafruit, but I have stripped it down, so check it out if you want more information about these steps.
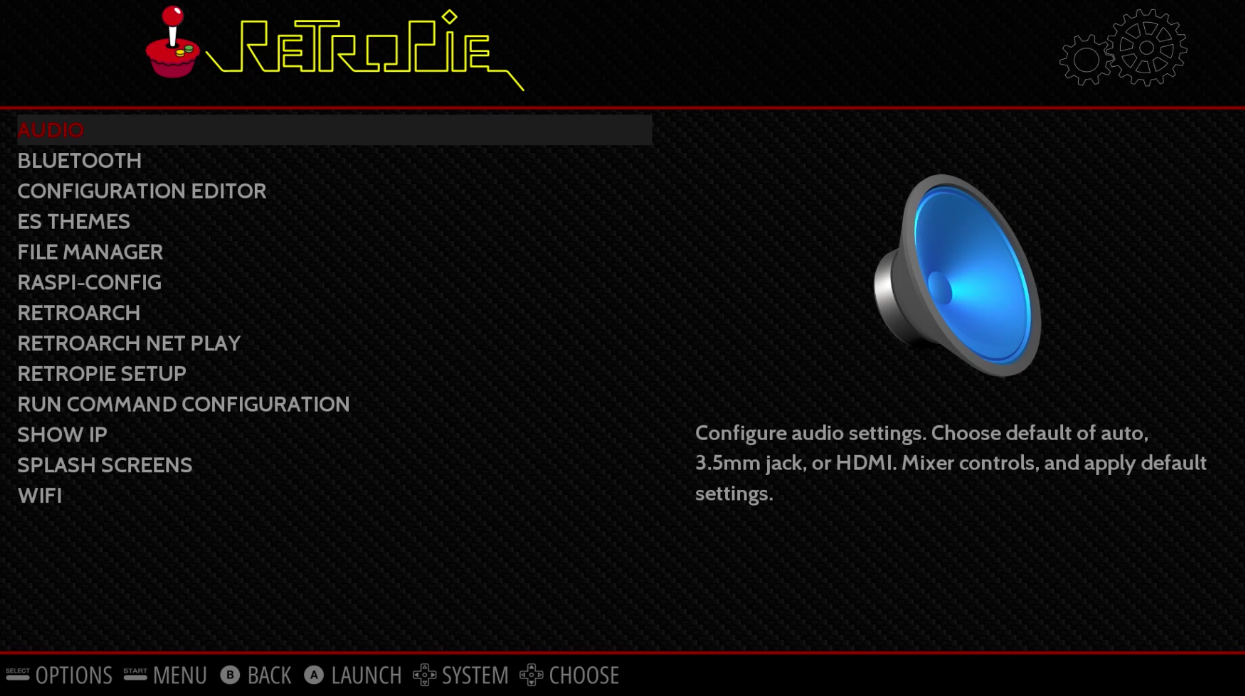
1. Start by connecting to WIFI. Do this by going to RetroPie arrow_forward WIFI and here you can login to your network. After that just Exit.
2. Now by navigating with "A", go into RetroPie on the menu, go to RASPI-CONFIG.
In here navigate with the ARROW-keys and ENTER
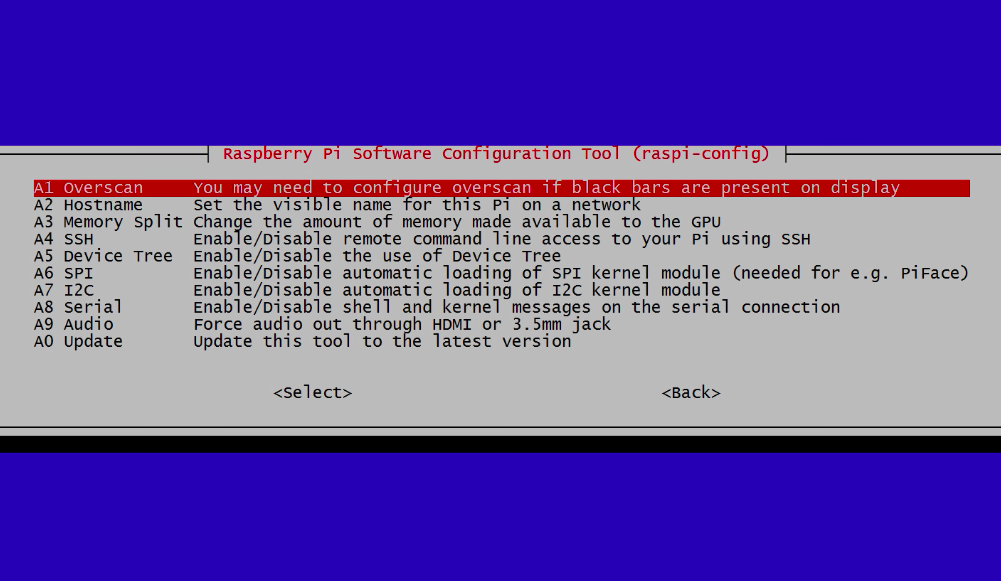
3. In here go to Advanced Options and go over these steps:
- Overscan: disable.
- Device Tree: enable (not an option in newer releases; it’s always enabled).
- SPI: enable and load kernel module by default. (not an option in newer releases; it’s always enabled).
- Audio: force 3.5mm headphone jack (since HDMI will be disconnected later).
4. Now go Back arrow_forward And Finish, and reboot the system.
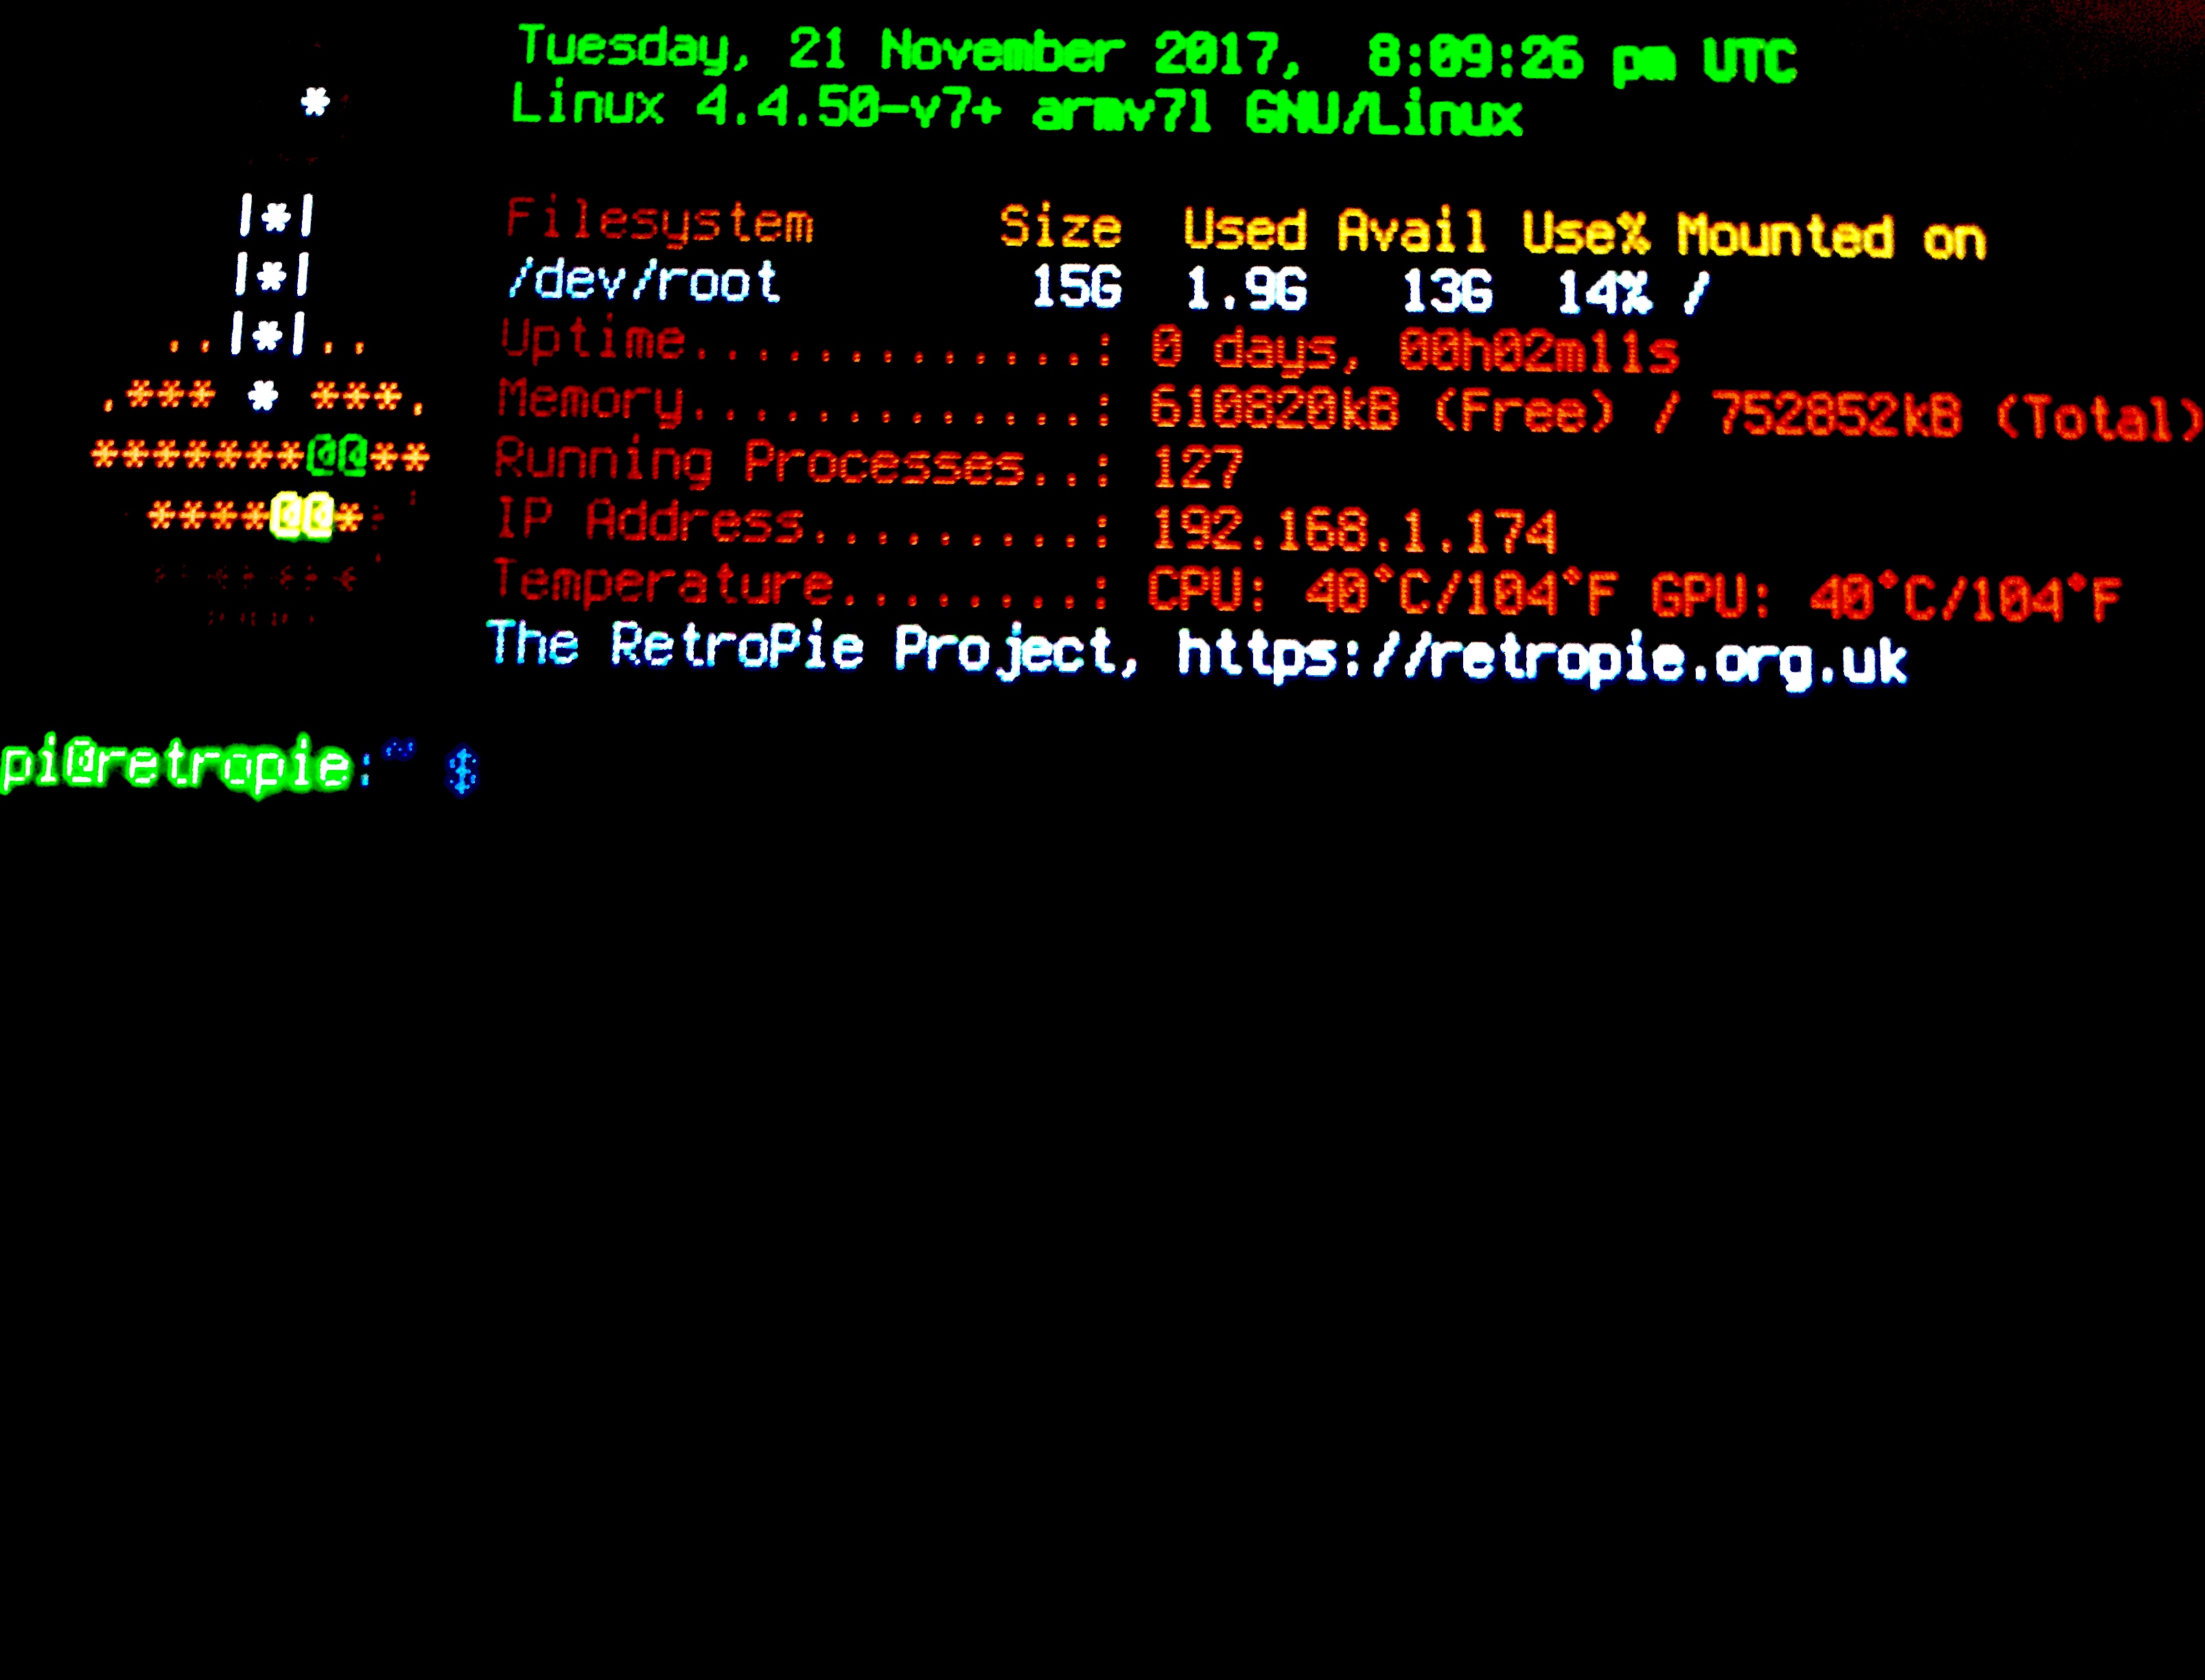
5. After reboot press F4 on you keyboard, and you will be greeted with the Command Line.
6. Here type these commands:
cd
curl -O https://raw.githubusercontent.com/adafruit/Raspberry-Pi-Installer-Scripts/master/pitft-fbcp.sh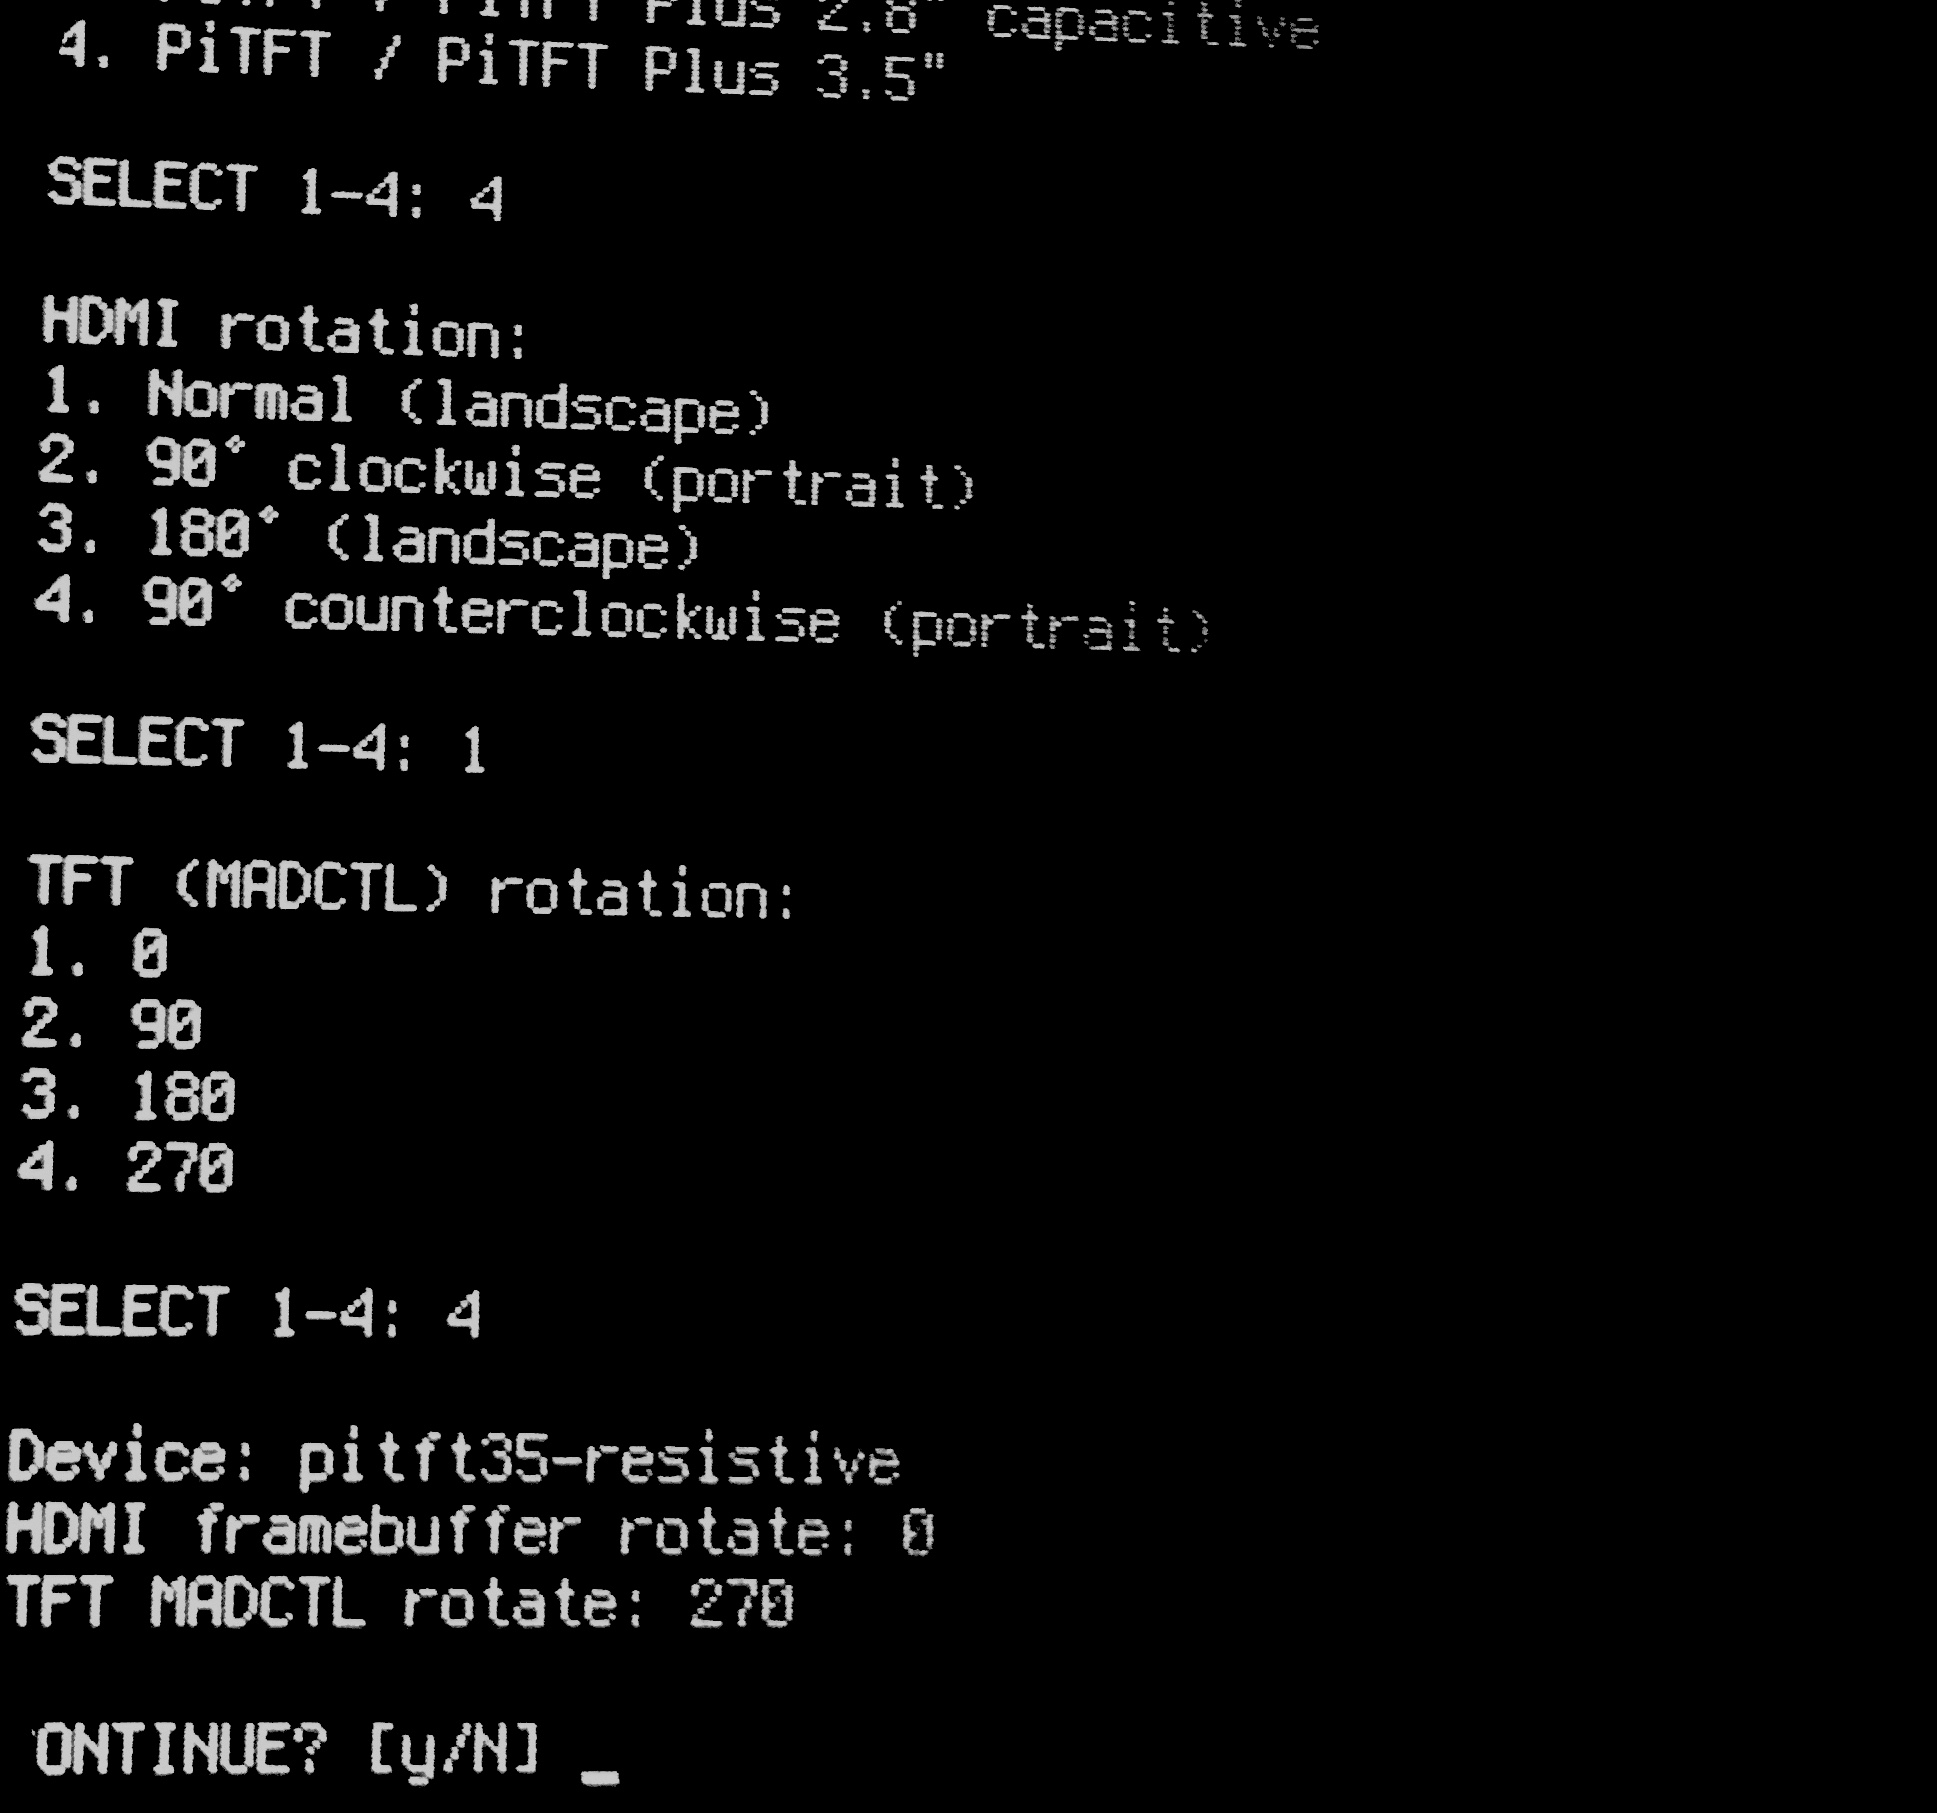
Now type sudo bash pitft-fbcp.sh to configure.
It should now ask you some configuration questions.
1. Say "y" to Continue.
2. Select Configure options manually, with "4".
3. Select PiTFT Plus 3.5", with "4".
4. Select Normal (landscape), with"1".
5. Select 270, with "4".
6. Again say "y" to Continue.
7. After that say "y" to Reboot.
The result
Congratulations, you're done!!!